Upload documents as client context
Attach relevant client documents as Additional Context for future AirNote drafts.
2 mins read
Additional Context is background you provide about a client, separate from the Client History AirNote builds from their sessions. Uploading previous notes, assessments or relevant correspondence helps AirNote consider work that happened outside the app without you re-entering it each time. AirNote can use this context when drafting future Notes, client documents, formulations and reports, where Additional Context is included as a source. You can also type context directly.
1. Open the client’s details
Select a session for the client in the sidebar, then click the button showing their first name in the main toolbar (Danielle in this example). Check that the details panel shows the client whose document you want to add.

You can also right-click the client’s name in the sidebar and choose View/Edit Client.
2. Find Additional Context
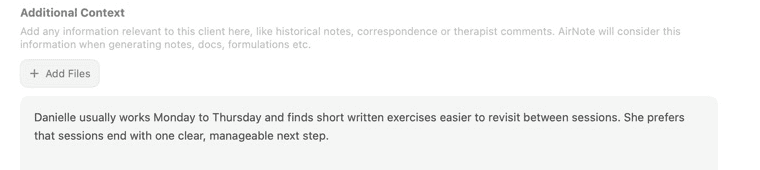
Scroll down the client panel to Additional Context, then click Add Files. This is separate from the editable text box, so an attachment can sit alongside context you have already entered.
3. Choose the document
Select a PDF, Word (.docx) or Excel (.xlsx) file and click Add. AirNote reads the document’s text, including text it can reliably read from a scanned PDF, to use as client context. You can select more than one file.
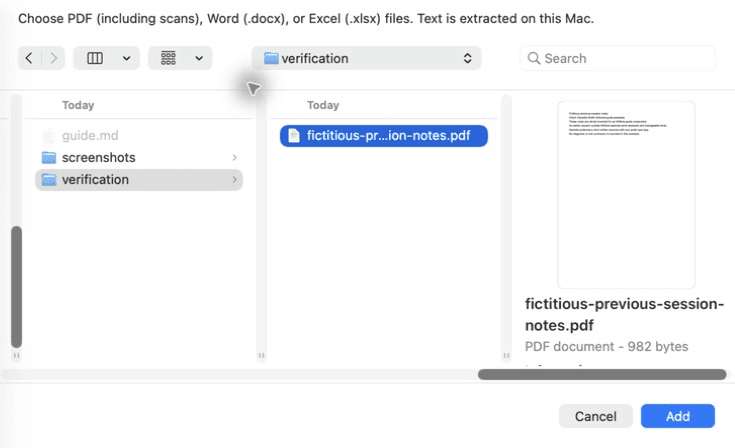
Choose documents that are relevant to this client. Password-protected files and documents with no readable text cannot be added.
4. Save the attachment
Check that the file appears under Additional Context, then click Save Changes. The document is now attached to this client’s context for future generation. Reopen the client’s details if you want to confirm it is listed there.
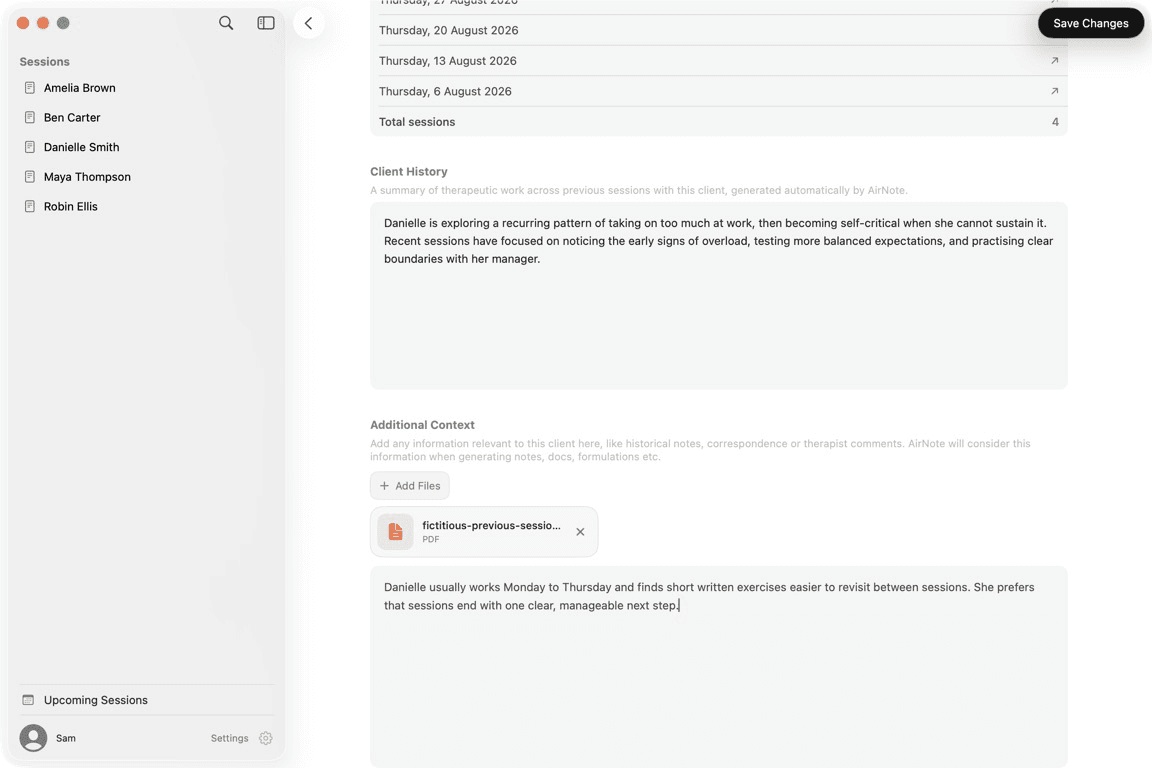
Saving new context does not rewrite Notes or documents that AirNote has already generated. Review new drafts before using or sharing them.
All people and session content shown in these screenshots are fictitious.