Secure AirNote with Touch ID
Require Touch ID or your Mac’s login password to access AirNote, and learn when App Lock takes effect.
2 mins read
Use App Lock to require an identity check before someone can access AirNote on your Mac.
Touch ID checks a fingerprint you’ve already set up on your Mac. When prompted, rest that finger on the Touch ID sensor at the top right of your supported Mac keyboard. If you need to set it up first, follow Apple’s Touch ID guide.
App Lock also works with the password you normally use to log in to this Mac. macOS handles the check; AirNote cannot access your fingerprint data. Apple explains how Touch ID protects your privacy.
1. Open General settings
Click your name at the bottom of the AirNote sidebar to open Settings.

Select General in the Settings sidebar.

2. Turn on App Lock
Find App Lock at the top of General settings.

Turn on the switch at the right of that row.

AirNote asks you to authenticate when you enable it. Use Touch ID when prompted, or choose Use Password… to enter the password you use to log in to this Mac.
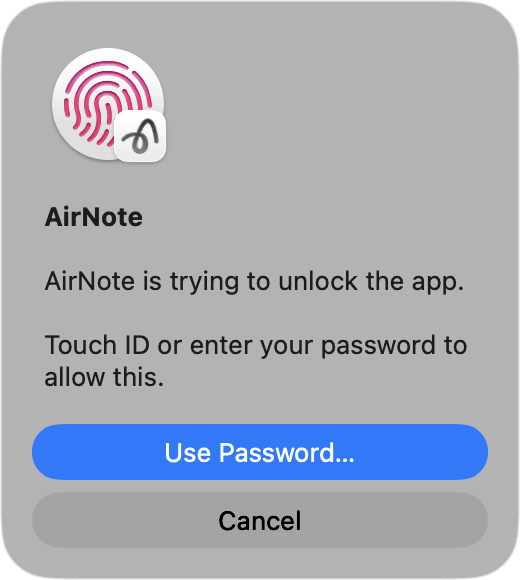
3. Unlock AirNote when you return
When AirNote is locked, its usual content is replaced by the AirNote is locked screen. Click Unlock and complete the macOS identity check to return to the app. Sometimes the prompt opens automatically.
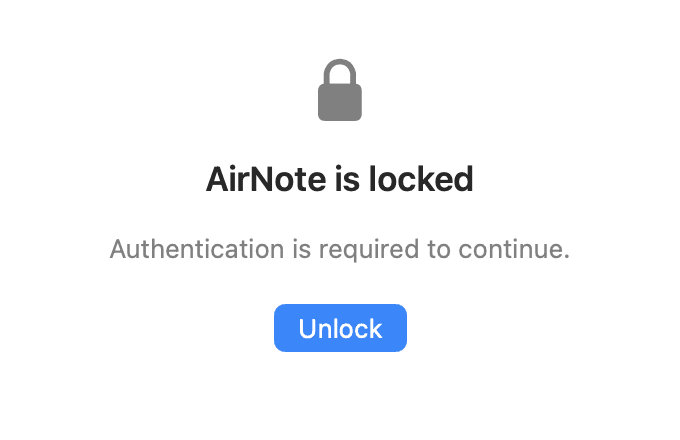
When does AirNote lock?
With App Lock enabled, AirNote locks:
When you launch the app.
After about 90 minutes without interaction while AirNote is active, or when you return after 90 minutes or more in the background.
When your Mac’s screen sleeps or you switch macOS user accounts.
To lock AirNote immediately when you step away, choose AirNote > Lock in the menu bar or press Shift–Command–L.
To turn App Lock off, unlock AirNote, return to Settings > General and turn off the App Lock switch.
All people and session content shown in these screenshots are fictitious.