Create a new client
Add a client from a new session and link the session to their record.
1 min read
Create a client while preparing their first session in AirNote. The new client record keeps their sessions together and becomes available to select for future sessions.
1. Prepare a new session
From Home, click the large + button beneath Create a new session to get started.
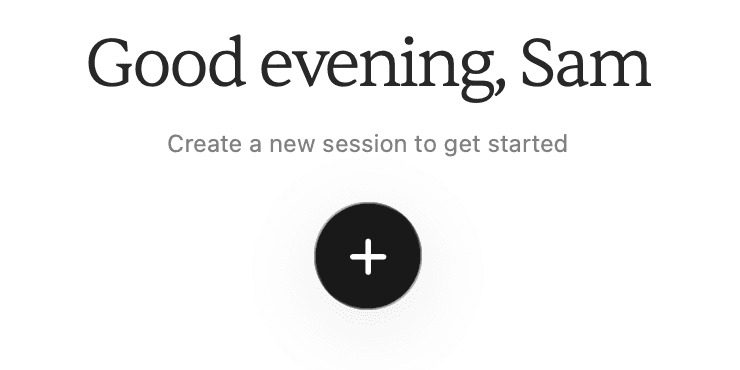
You can also click + in the top toolbar, beside the Home button. Either route opens a new session ready to assign to a client.

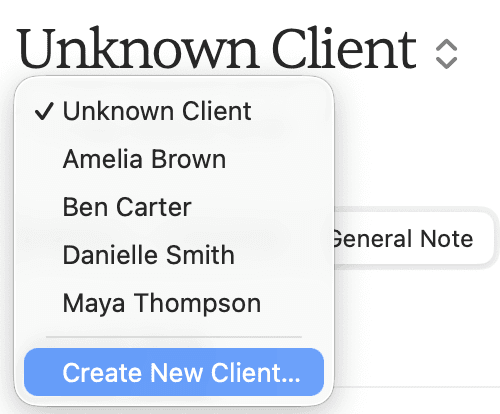
2. Choose Create New Client
Click Unknown Client at the top of the session, then choose Create New Client… from the menu.
3. Enter the client’s name
Type the name into Client Name. In this example, the new client is Alex Taylor.
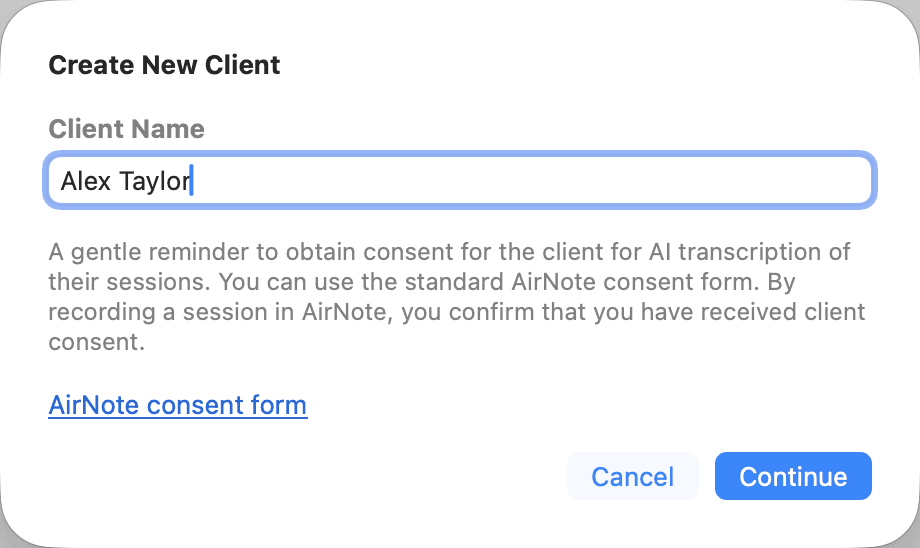
Obtain the client’s consent for AI transcription before recording a session. The AirNote consent form link is available in this window. Creating the record does not obtain consent on the client’s behalf.
Click Continue to save the client and link the prepared session to their record.
4. Check the new client
The session heading now shows the client’s name, and the client appears in the sidebar. The session is still a draft; creating the client has not started recording.

For future sessions with the same person, select their existing name from the client menu so their sessions stay together.
All people and session content shown in these screenshots are fictitious.